


Custom HTML-code
For each design you can add custom HTML-code. The HTML-code can be used in order to further customize the design of the consent layer by adding new content to it. An common example of this is the split-view consent:
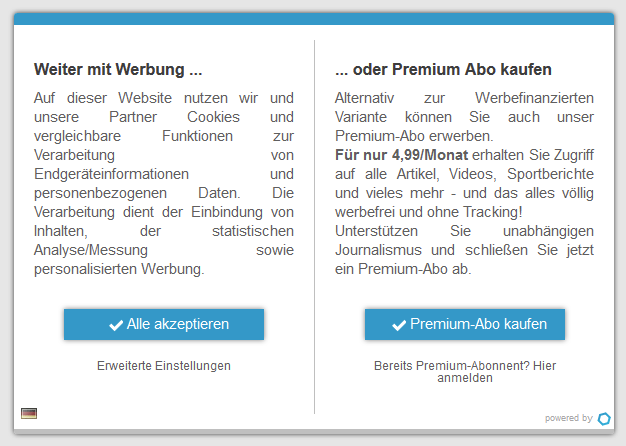
In the above example, the left side of the layer is the original consent layer. The right side of the layer is custom HTML code added to this design.
How HTML code is inserted into the consent layer
The consent layer usually consits of a <div> element for the outer layer (CSS class cmpbox) and <div> element for the inner part of the layer (CSS class cmpboxinner). If custom HTML code is used, the CMP will create another <div> inside the outer layer and place both, inner layer and custom HTML-code in it.
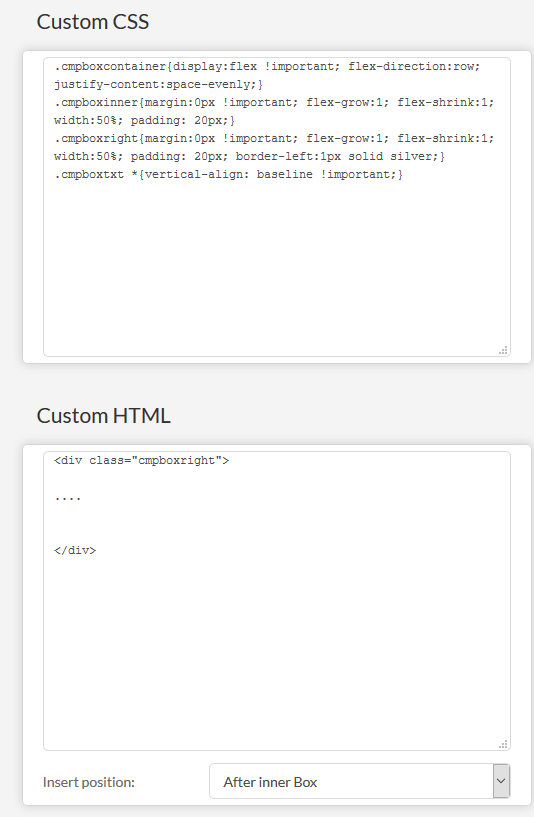
Placeing the content next to each other
In order to place the inner layer next to your custom HTML, you could use CSS display:flex on the <div> with CSS class cmpboxcontainer. Here you can see a very simple configuration for a consent layer with left/right content:
Adding a custom accept button
If all you need is an accept/reject button that does not accept or reject all vendors, you can do so by using client side configuration variables. The below example adds an "Accept without Behavorial Advertising" button to the first layer. Clicking the button will only enable the IAB TCF purposes 1,2,7,8 and 10 (not enabling the purposes 3,4,5,6 and 9 which are meant for personalization).
 <script>
  window.cmp_custombutton = true;
  window.cmp_custombutton_name = 'Accept without Behavorial Advertising';
  window.cmp_custombutton_pos = 1;
  window.cmp_custombutton_purposes = [1,2,7,8,10];
 </script>
