


Working with Notification Integrations
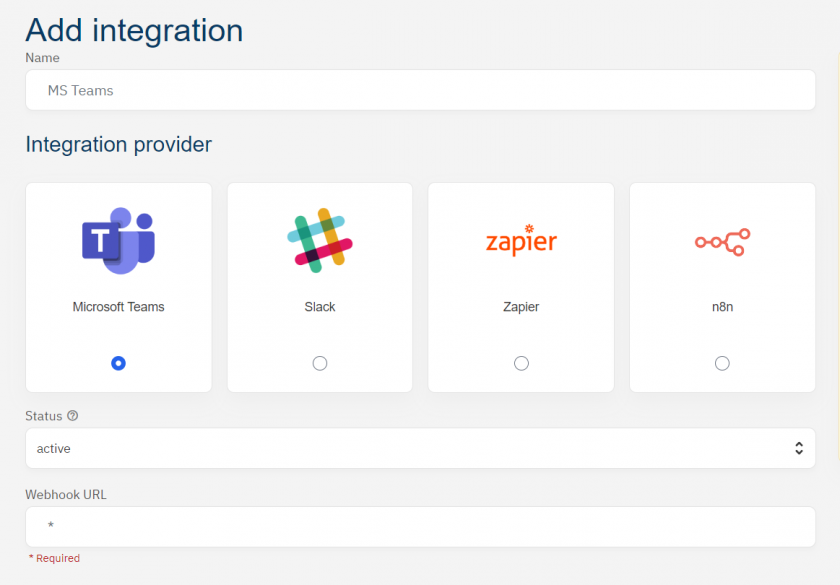
Notifications about new cookies, vendors and so on can be send either via E-Mail or to a Webhook of a third party system such as Microsoft Teams or Slack. In order to send notifications to a third party system, please go to Account > Integrations > Create and Add a name, choose the system, add the webhook URL press the Create button.
Microsoft Teams
In order to create the webhook URL for Microsoft Teams, please follow this documentation:
Slack
In order to create the webhook URL for Slack, please follow this documentation:
https://www.slack.com/apps/A0F7XDUAZ-incoming-webhooks?tab=more_info
Zapier
In order to create the webhook URL for Zapier, please follow these steps:
- Register on zapier.com and log in to your account
- Create a new Zap by clicking on the "Create" button in the top menu and choosing "Zaps":
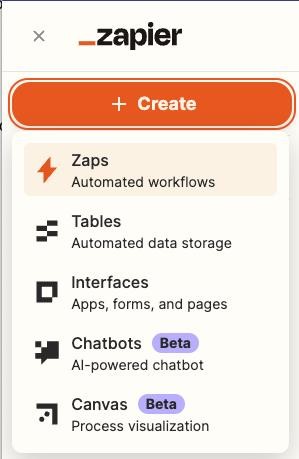
-
Click on the "Trigger" step to select the trigger app:
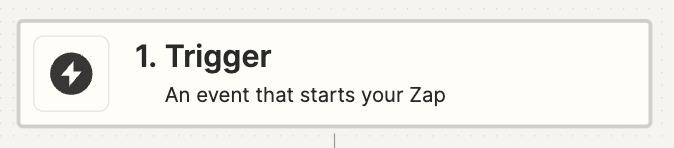
-
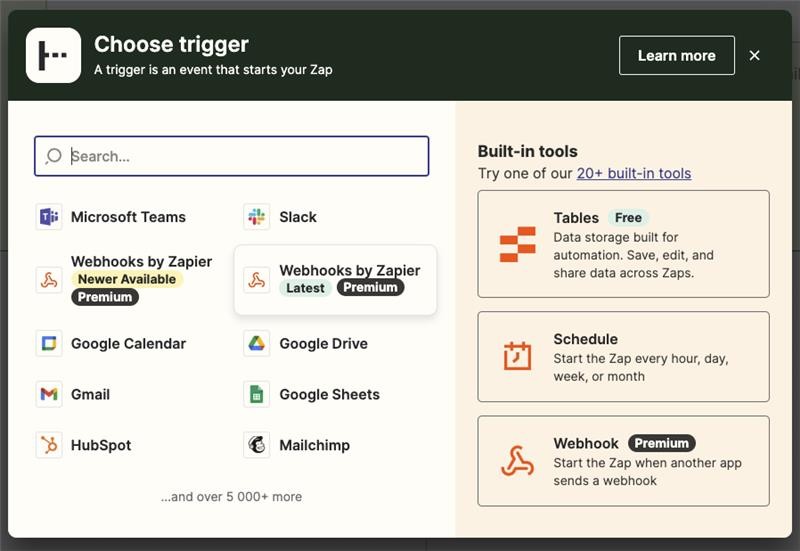
Search and select "Webhooks by Zapier" as the trigger app.
-
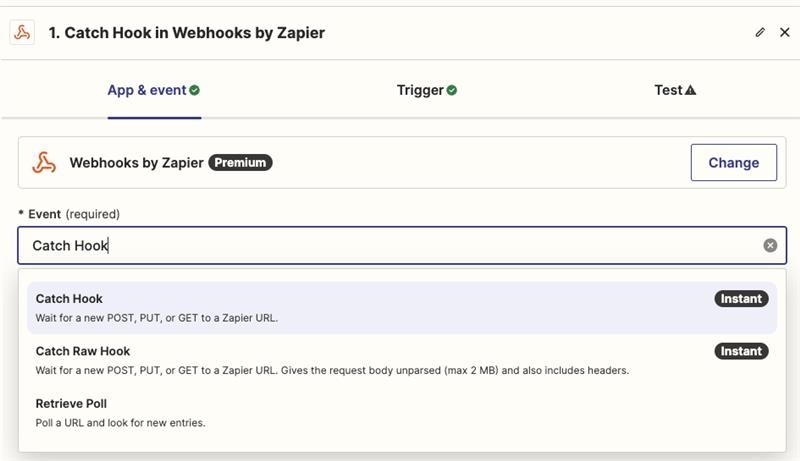
Choose "Catch Hook" as the trigger event and click "Continue":
- Skip the trigger step for now
-
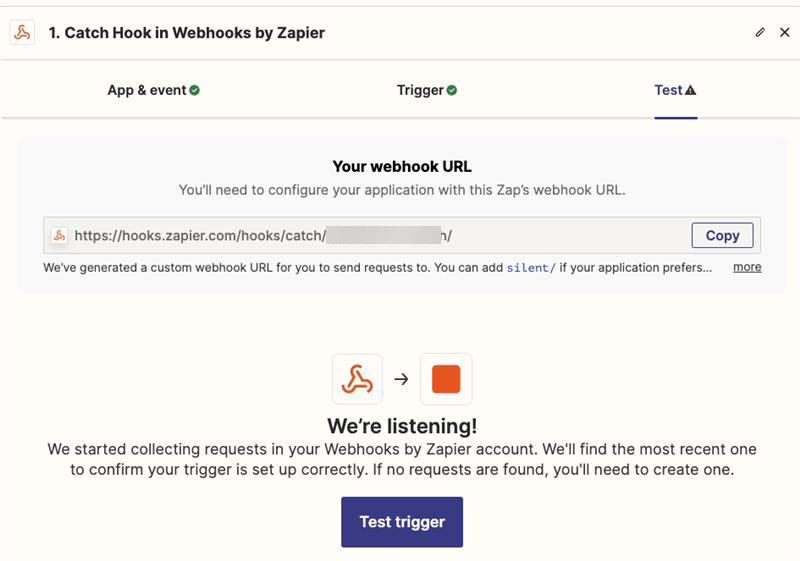
Copy the provided webhook URL:
- Paste the copied URL into the "Webhook URL" field in consentmanager.
-
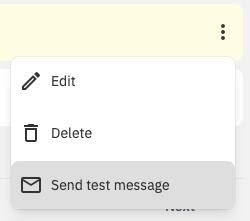
Create Integration and click "Send test message" from the dots menu:
-
Return to Zapier and click "Test trigger"
-
Choose the app where you want to process images (e.g., Google Drive, Dropbox).
-
In the configuration of the action app, use the variable "text" from the webhook data as necessary.
-
Configure the action according to your needs (e.g., upload image to Google Drive).
-
Connect your account and set up the action details.
-
Zapier will perform a test action using the sample data from the trigger.
-
Verify that the action was successful.
-
Once you're satisfied with the setup, turn on your Zap to start automating image processing tasks.
n8n
In order to create the webhook URL for n8n, please follow these steps:
-
Sign up on n8n.io and log in to your account.
-
Click on the "Add workflow" button to create a new workflow:

- Click on the "+" icon to add the first step to add a new workflow trigger.
-
Choose "On webhook call" as the trigger event.
- Setup the webhook parameters:
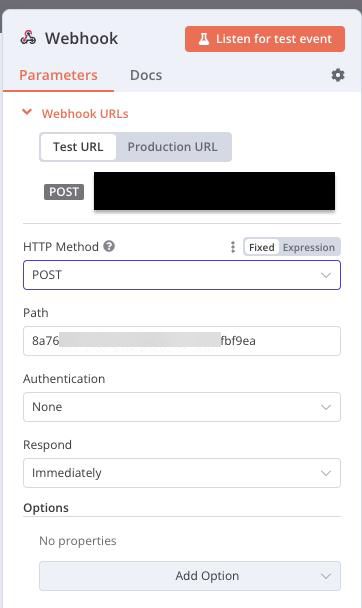
- Choose HTTP method: POST.
- Before sending the test message, click "Listen for test event".
- Copy the provided webhook URL.
- Paste this URL into the "Webhook URL" field in consentmanager.
- Create Integration and click "Send test message" from the dots menu:
- Return to n8n and click "Execute Workflow".
- Note: After successful testing and before using this webhook, it's necessary to change the URL to the "Production URL".
- Click on the "+" icon to add a node.
- Choose "Action in an app" to interact with applications.
- Customize other settings based on your requirements.
- In the configuration of the action node, use the variable "text" from the webhook data as necessary.
- Configure the action according to your needs.
- Connect your account and set up the action details.
- n8n will perform a test action using the sample data from the trigger.
- Verify that the action was successful.
- Make sure to activate the workflow to start automating image processing tasks.
- Once you're satisfied with the setup, turn on your workflow.
