How to integrate the CMP into an Oxid eShop?
Install with composer
Plugin is tested for OXID v6.x & v7.x
1) Start your console and move to your OXID folder & run:
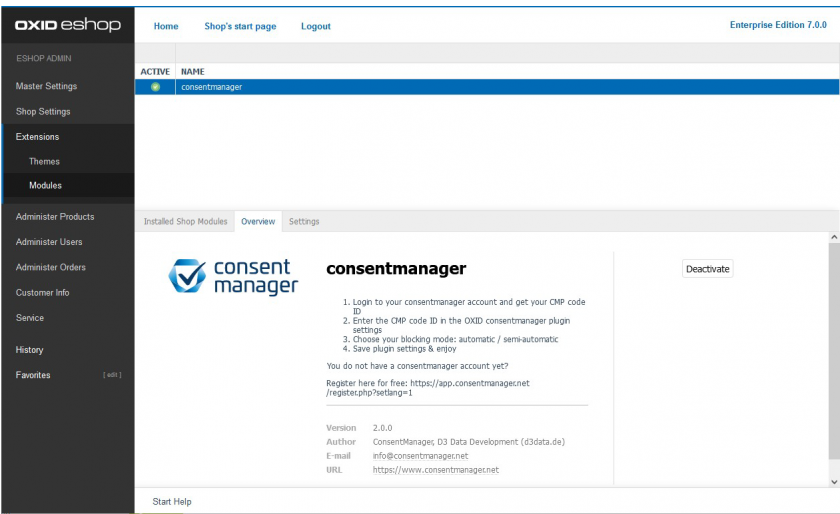
composer require consentmanager/consentmanager4oxid2) In your shop backend Extensions > Modules and activate "consentmanager"
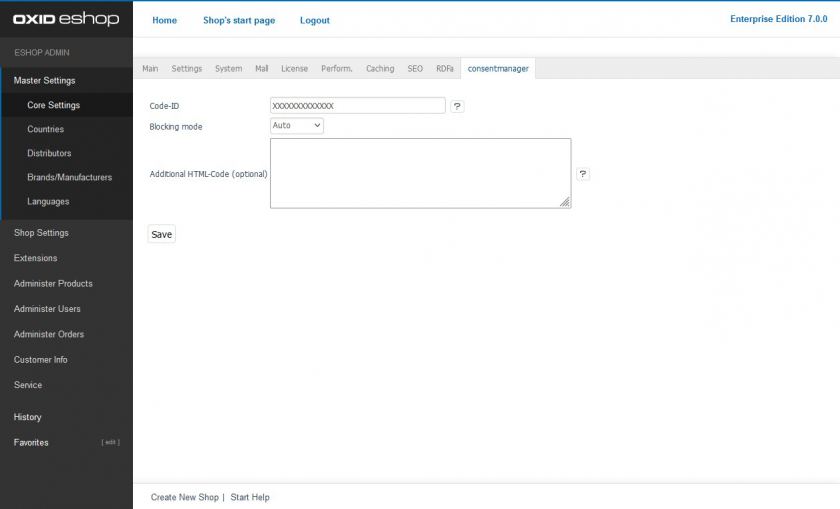
3) Go to Master Setting > Core Settings > consentmanager and
- enter your CMP code ID (required)
- choose your blocking logic (required)
- add custom HTML e.g. JS variables
4) Clear your template cache either in backend or in your console with:
./vendor/bin/oe-console oe:cache:clearManual integration
Please note: The below description is only valid for the manual blocking code. If you want to use automatic code blocking, please ensure that the CMP-Code is inserted directly after the <head> element of your website code.
In order to intergate the CMP-Code into an Oxid eShop please follow these steps:
- Login to your shop via FTP or similar
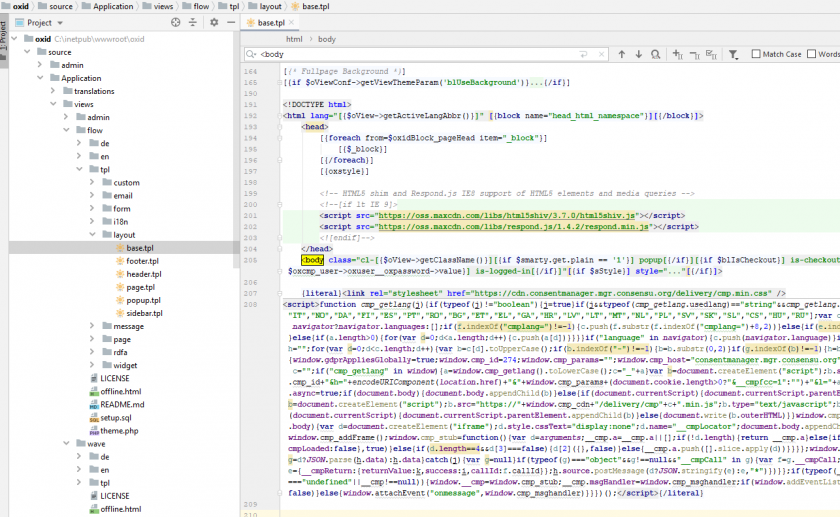
- Navigate to the folder that contains the theme you are using (e.g. .../Application/views/flow/)
- In the theme folder you should find a subfolder tpl/layout and within this you should find a file called base.tpl
- Edit the file and search for
<body - After the closing
>of the<bodyelement, insert the CMP-code enclosed in[{literal}] .... CMP-Code ... [{/literal}] - Save the file