


Working with Staging and Live Environments
Staging allows you to separate between test (staging) and productive (live) version of your CMP. Changes of your test CMP will not automatically go live but instead you can control when to publish them. This offers more safety when making changes, but requires additional steps every time any change should go live. Only once the changes are tested and you are satisfied with the results, you can publish the CMP. The "publishing" will copy all settings from the staging CMP to the live CMP so that they can be used on your normal website or app.
The typical order of activities in a staging environment would be:
- Create a CMP and activate staging for it
- Integrate the staging codes into your test website and the live codes in the productive / public version of your website.
- Apply the changes that you want to do, e.g. add new vendors, change the purposes or legal settings and so on.
- Publish the changes. This copies the changes from staging to live CMP
- Push changes live. This activates the changes in the live environment, so that they can be seen on your website immediatly without the need to wait (without pushing, the waiting time is usually between 20-30 minutes)
Activating staging for a CMP
In order to use a separate staging and live environment for a CMP, please enable staging in Menu > CMPs > Edit > Staging. Once enabled, the system will create a copy of the existing CMP with all settings, vendors, cookies, purposes and so on. The two CMPs (staging and live) are now separate and changes that are made on the staging CMP are not automatically applied to the live CMP. In order to apply the changes from staging to the live CMP you will need to go to Menu > CMPs > Publish and publish the current version.
Note: Once staging is activated for a CMP, the original CMP will become the live version and a new staging CMP is created. In order to be able to test the staging settings before publishing, you should integrate the staging CMP in your test-website or test-app.
Important: Once staging is activated for a CMP, you should always only edit the staging CMP (this includes editing the purpose list, vendor list, cookie list and legal settings and so on). Do not edit the live CMP as the changes in the live CMP will be reverted with the next publishing process.
Differences between a staged and a non-staged CMP
When you activate staging for a CMP, you will notice some differences to CMPs that do not have staging activated. These are:
- Although the system now has to CMPs, most CMP-lists will only show one CMP (the staging CMP).
- All changes will only automatically be visible on the staging CMP when using the staging CMP Code in your (test-)website. Changes to the staging CMP will take up to 30 minutes before they can seen on the staging website (unless pushed live before; see below).
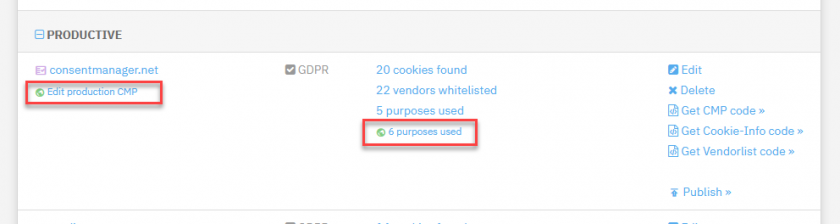
- Under Menu > CMPs the staging and live CMPs will be displayed as one CMP only. In case when the staging and live settings differ, the system will display the differences in the list:
- When you try to edit the live CMP, you will find notifications and warnings that editing the live CMP is not recommended.
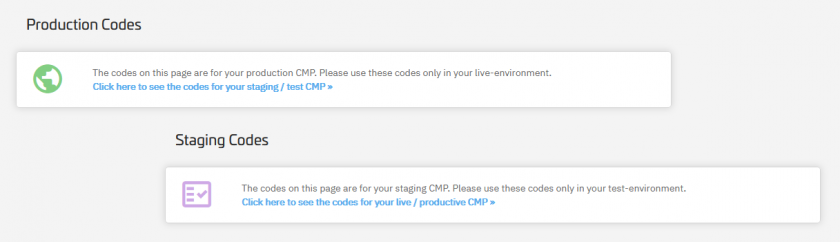
- Under Menu > Get Code you will find a link in order to switch between codes for Production / Live and Staging / Testing. Please ensure you are using the correct code on the corresponding version of your website or app.
- For staged CMPs, the system will track the changes in a different way so that a user that wants to publish the changes can see who applied which changes.
- Certain User rights can only be applied to staged CMPs
- The crawler will no longer start automatic crawls for the live CMP. Instead all found URLs of the live CMP will be transfered to the staging CMP and crawls will be started for the staging CMP only. When checking the crawler results, you will need to check the reports for the staging CMP.
- Blocked domains notifications on new found vendors will only be visible on staged CMPs and not on the live CMPs.
Publishing a CMP
In order to copy the settings of a staging CMP to the live CMP, please go to Menu > CMPs > Publish. You will see a list of changes since the last publishing and have the option to publish now.
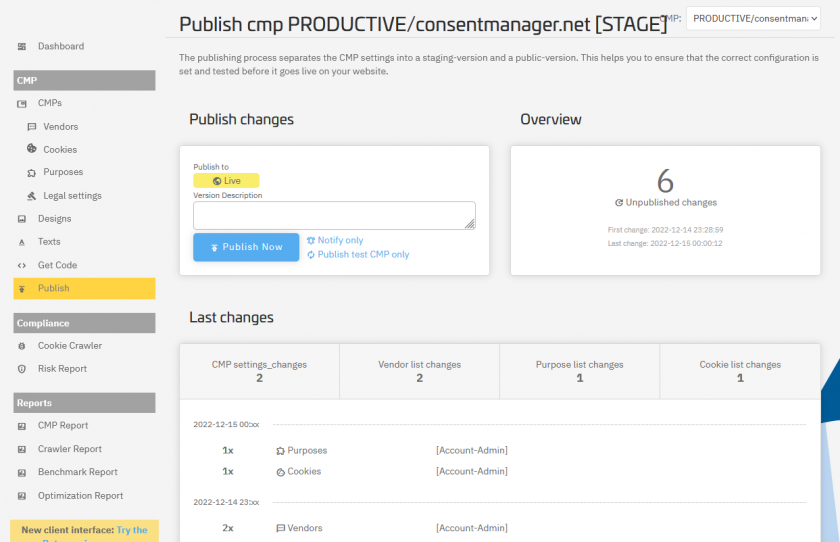
Hint: We recommend to add a version description to each publishing that you do. This way it wil be easier to get an overview on your last activities.
Pushing changes live
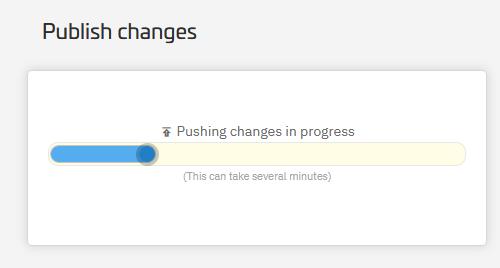
Once the copy from staging CMP to live CMP is made, the system will automatically start the push of the settings to the live environment. This copies the settings onto the delivery servers so that the changes can be seen on your website. Without this manual push, changes usually take 20-30 minutes before they can be seen on your website.
- CMPs without staging enabled:
Changes automatically go live after 20-30 minutes - CMPs with staging enabled:
a) Changes automatically go live on the test page after 20-30 minutes or with manual push
b) Changes only go live on the production website once the publishing process is started (manually) - A manual push can be started under Menu > CMPs > Publish
Setting user rights for staging CMPs
When working with multiple users, it may make sense to limit the rights for certain users. A typical scenario is that account managers may edit CMP settings but are not allowed to put them live without being tested by another person. A typical rights system would therefore usually have the following two groups or types of users:
| Right | Editor | Admin |
| Live CMP | Can only view | Can edit |
| Staging CMP | Can edit | Can edit |
| Publishing | Publishing not allowed | Can publish |
Once an Editor has finished the editing, he or she can add a note under Menu > CMPs > Publish that the changes may now be applied. Admins can see this note and start the publishing process once verified.
Limitations
Please note that some things of the system are not part of the staging process and will therefore automatically go live without the possibility to manually publish the changes at a later point. These things include:
- Changes to vendor details (such as name, description, address, data categories and so on)
- Assignment of vendors to domains
- Creation of domain alias for cookies (merge of domains)
- All design settings
- All text settings
- Global language settings (e.g. adding a new language)
